I recently bought a pair of inline skates (Rollerblades) and decided I’d spend an hour every practicing and really give the sport a go.
The wheels my skates came with wore down REAL fast.
The reasons why this excessive wear happened so quickly are many, but I had to learn how to rotate my skates. I thought I’d go through the process and show you how to do it.
By the way, as an Amazon Associate, I earn when buying qualified products through links on my site.
This how-to article is about rotating inline skates with 4 wheels. The rotation pattern is different for 5+ wheel skates but the concepts are similar.
Furthermore, if you are replacing your wheels, the removal process is the same.
(as a note…you’ll notice that I had to flip the images because I didn’t go in the exact order of this article. This shouldn’t affect you)
What You Will Need
Gather the following materials:
- Your Skates. Align them like you would if you were riding them
- Two Allen wrenches (one for each side of the wheel you’re removing) that fit the axles of your skates. Your skates should have come with these. If you don’t have these Allen wrenches (hex keys), they can be easily bought at the hardware store.
- Bearing Cleaning Kit (Optional)
- About 30-60 minutes (good time to listen to music or an audiobook if you ask me)
- Two paper plates: You want to keep track of which skate a wheel is coming from. Label your paper plates with an L and an R (for Left and Right), and keep your wheels separate from one another on these plates so you don’t lose track of which wheel came from which skate.
- Learn how to remove and attach a skate wheel – I show you how at the end of the rotation steps. Click here to jump to that section to learn how to remove and attach a skate wheel (if you don’t know already how to do it) and come back to the top to actually do the rotation.
Rotation Diagram
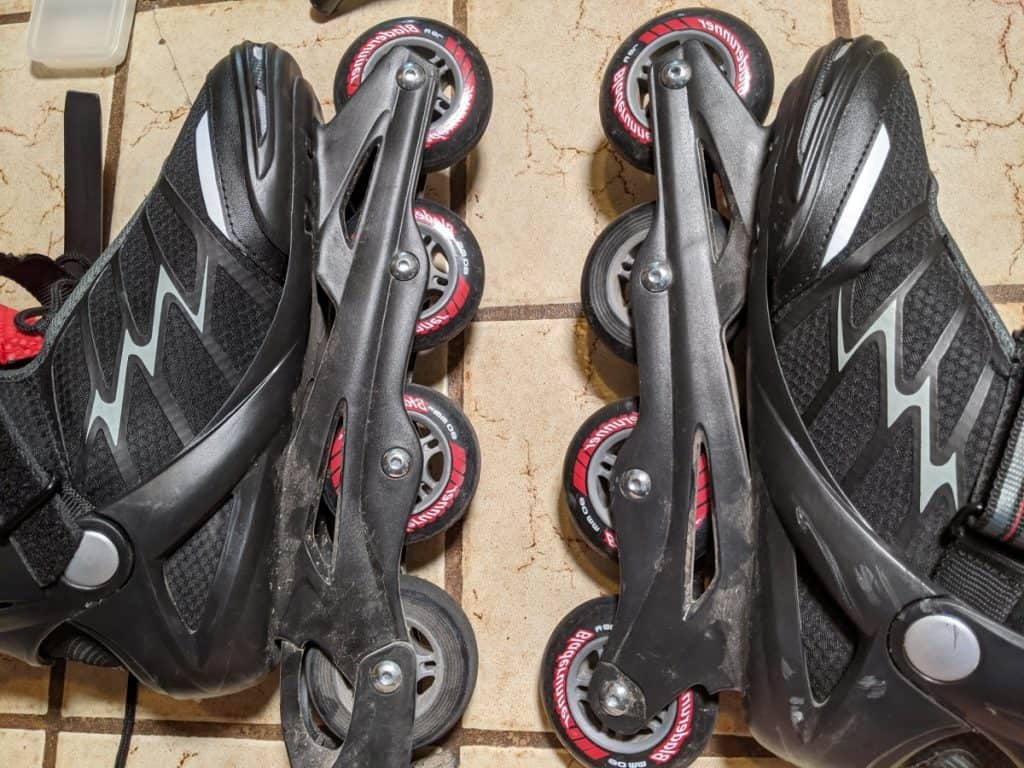
This diagram is a picture of my skates before rotation.
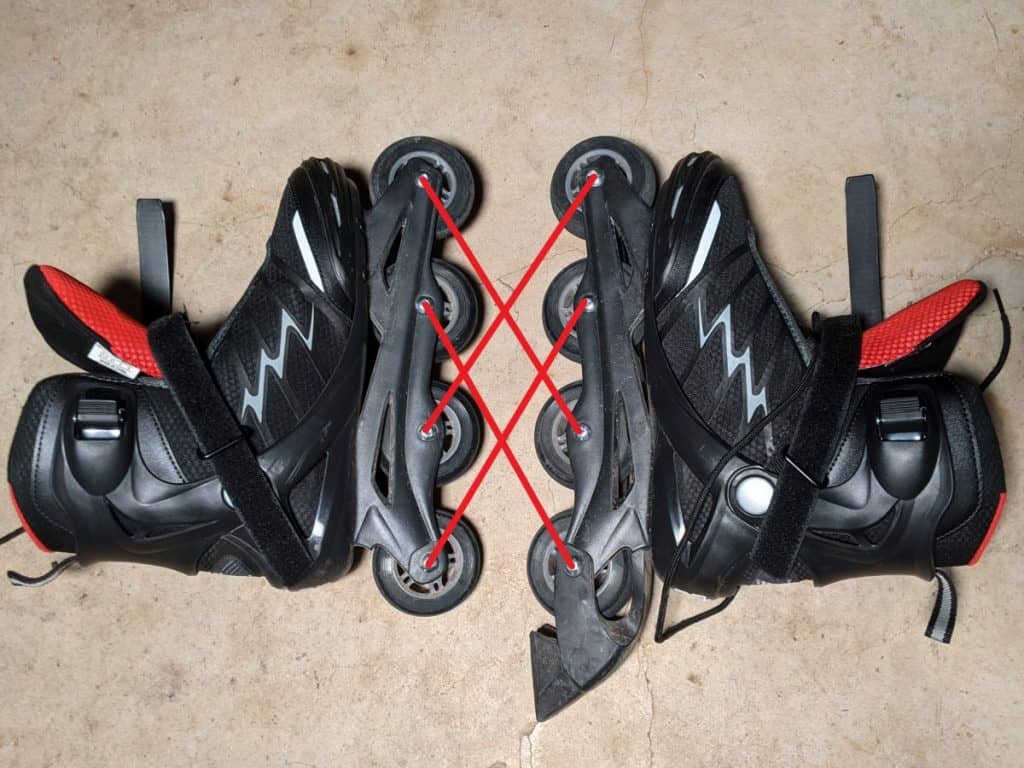
If the picture is confusing, here is a table with how the rotation will work:
| Left Skate | Right Skate |
|---|---|
| Wheel 1 | Wheel 3 |
| Wheel 2 | Wheel 4 |
| Wheel 3 | Wheel 1 |
| Wheel 4 | Wheel 2 |
Tip: Take a picture of your skate wheels before you get started and take note of the labelling of your skates so you can keep track of which direction your wheels were pointing
If you look carefully at the picture above, the wheels are all dark-colored with no graphics. However, the wheels have graphics on the outside of the skate.
If you take note of the graphics on your wheels, you can use this as a way to know which direction to align your wheels.
Swap Left Skate Wheel 1 and Right Skate Wheel 3
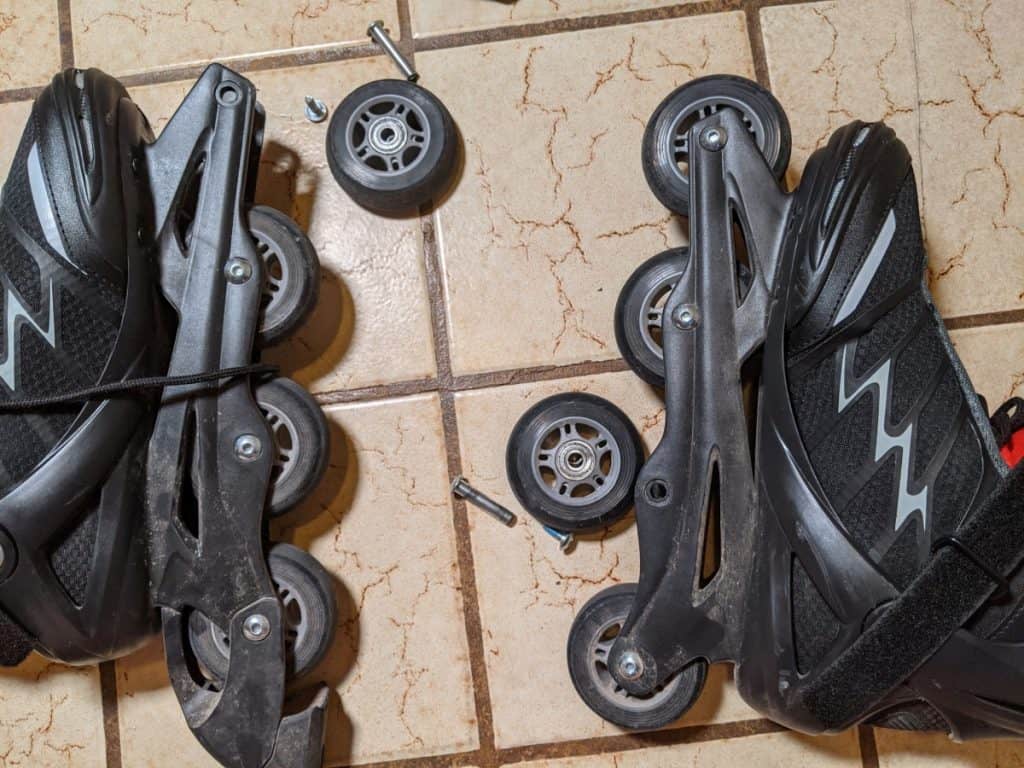
Using your Allen wrenches, remove the 1st wheel on the left skate (the wheel closest to the toe of the skate), and repeat the process on the 3rd wheel of the right skate:
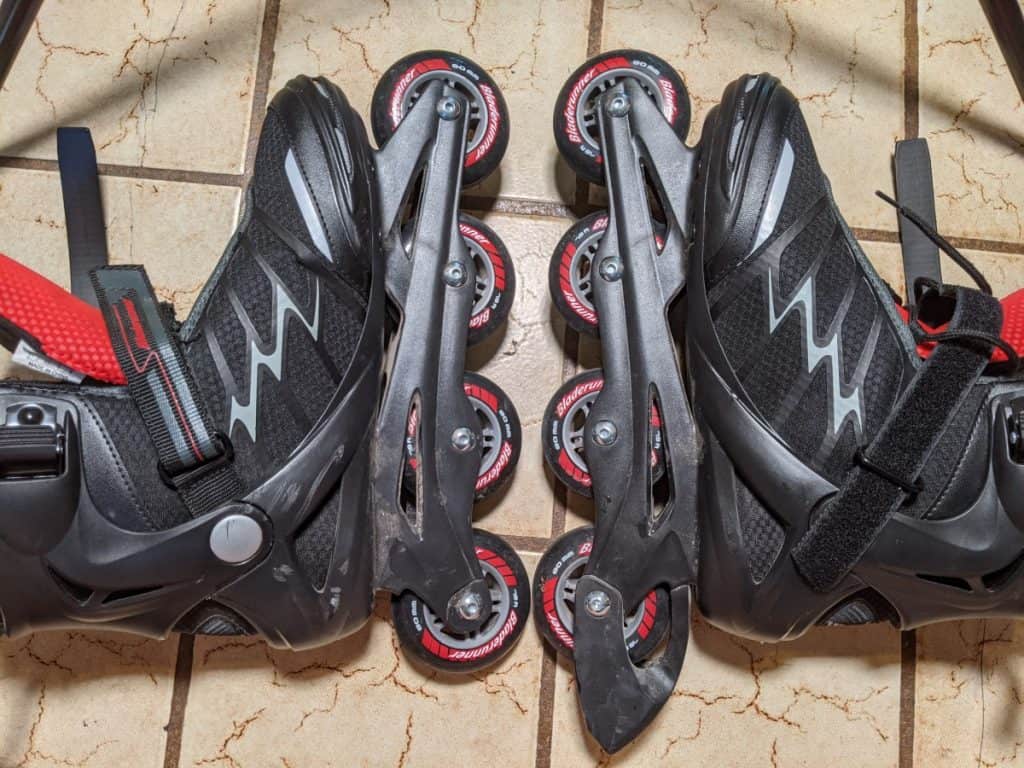
This is what it will look like when you remove those two wheels:
With both wheels detached, you can optionally follow this section to clean and lubricate the bearings before reattaching the wheels. If you just want to rotate the wheels, you can skip that section.
Important: Don’t forget to flip both wheels before attaching them to the other skate.
Next, flip both wheels (important!), and swap them with the opposite skate’s wheel. Reattach the wheels completely.
I like to reattach the wheels as I go because it’s easy to get your wheels confused as you go.
Tip: Keep your skates pointed as if you were wearing them with the left skate on the left and the right skate on the right so you don’t get confused
Swap Left Skate Wheel 3 and Right Skate Wheel 1
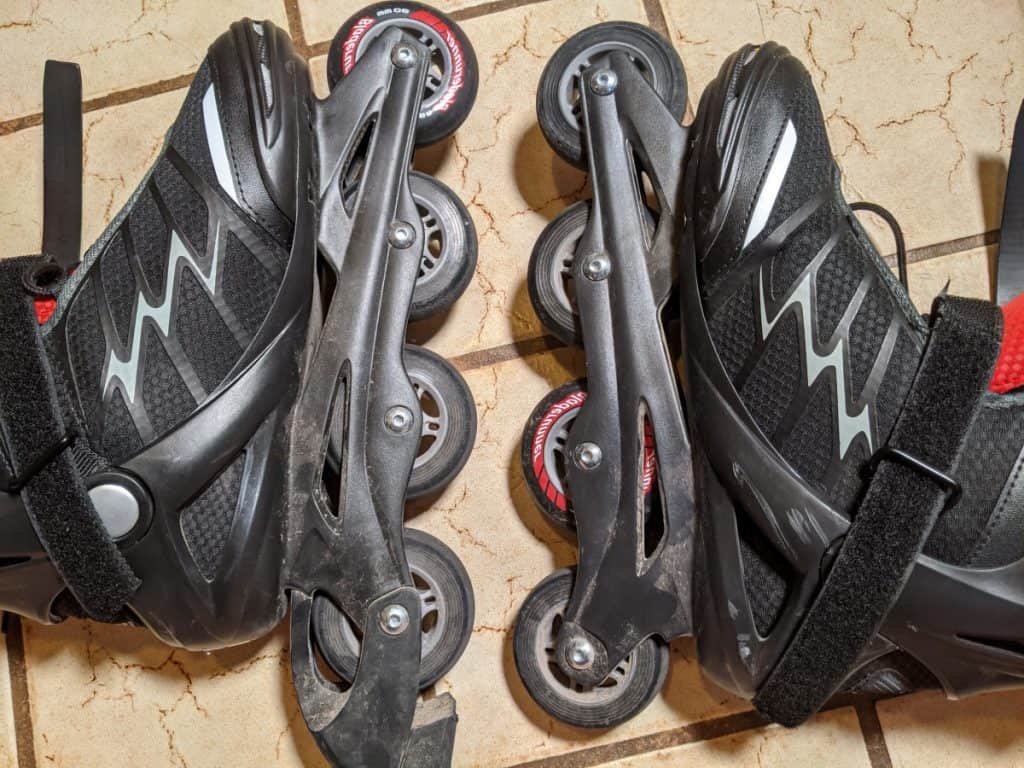
Following the same process, swap wheel 3 on the left skate with wheel 1 on the right skate.
It should look like this when you’re done:
I use the wheel graphics on my skates to keep track of my progress. If your wheels don’t have graphics on them, you can always use a sharpie to mark the outside and inside sidewalls to let you know their rotation.
Not all wheels will be as worn as other wheels, so it’s critical to keep track of the original direction of your wheels.
You’re halfway there.
Swap Left Skate Wheel 2 and Right Skate Wheel 4
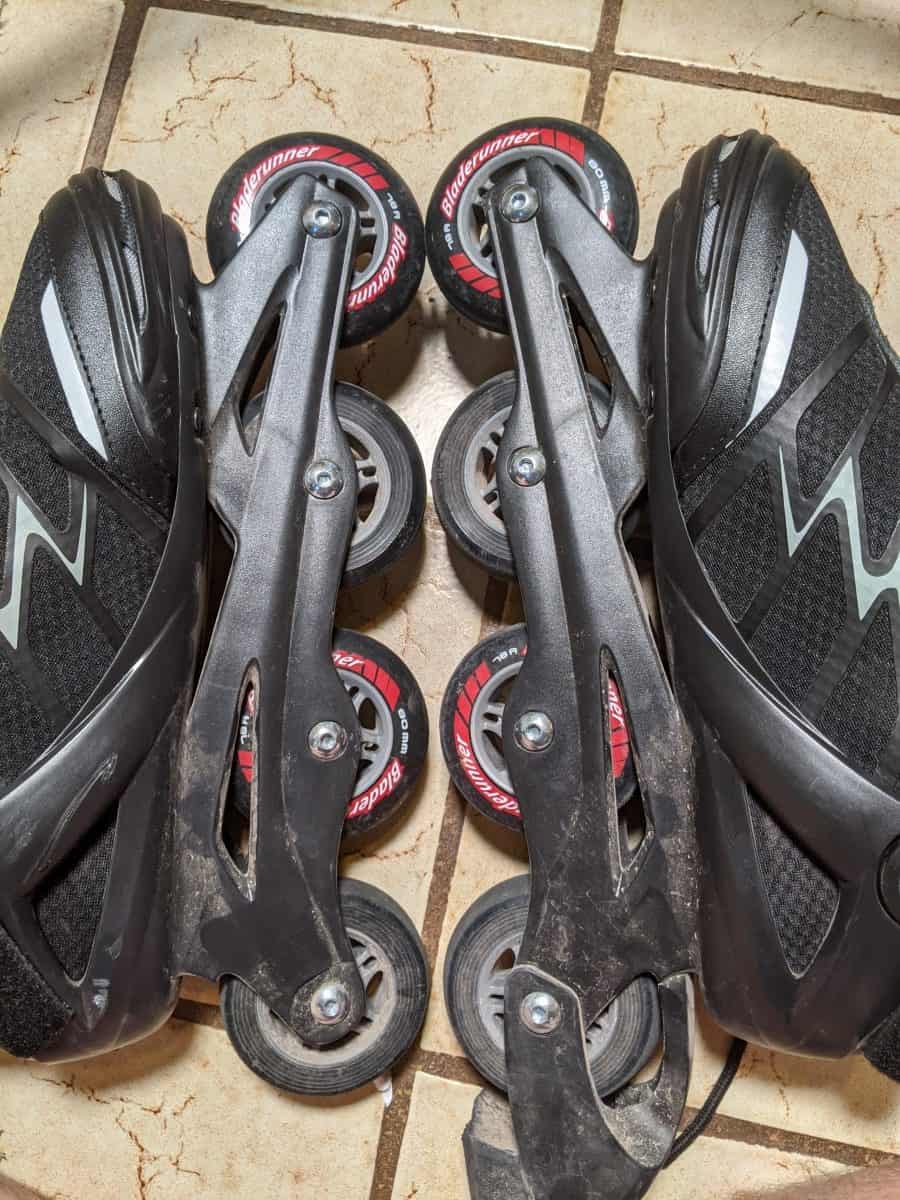
Now, swap wheel 2 of the left skate with wheel 4 of the right skate.
When you’re done, it should look like this:
Almost there.
A Note About The Brake
Many skates (especially amateur skates) come with a brake attached to one of the back wheels.
You may be tempted to remove it, and in fact, once you learn how to stop on inline skates you can easily do without it and it will stop getting in the way. However, one thing to remember is that because of the brake, the axle on the brake wheel is slightly longer than the other axles.
If you want to remove the brake, you will need to get another axle from a skate shop to replace the axle since it will be too long and won’t keep your back wheel stable.
Swap Left Skate Wheel 4 and Right Skate Wheel 2
Now, finish up by swapping left skate wheel 4 and right skate wheel 2.
Once you’re done, it should look like this:
You’re done! You’ve successfully rotated your wheels!
If you haven’t removed a skate wheel before (or reattached it), see the following section to learn how to do that.
How To Remove And Replace A Skate Wheel
I wanted to make a quick detour in case you haven’t removed wheels and reattached wheels, before.
Removing
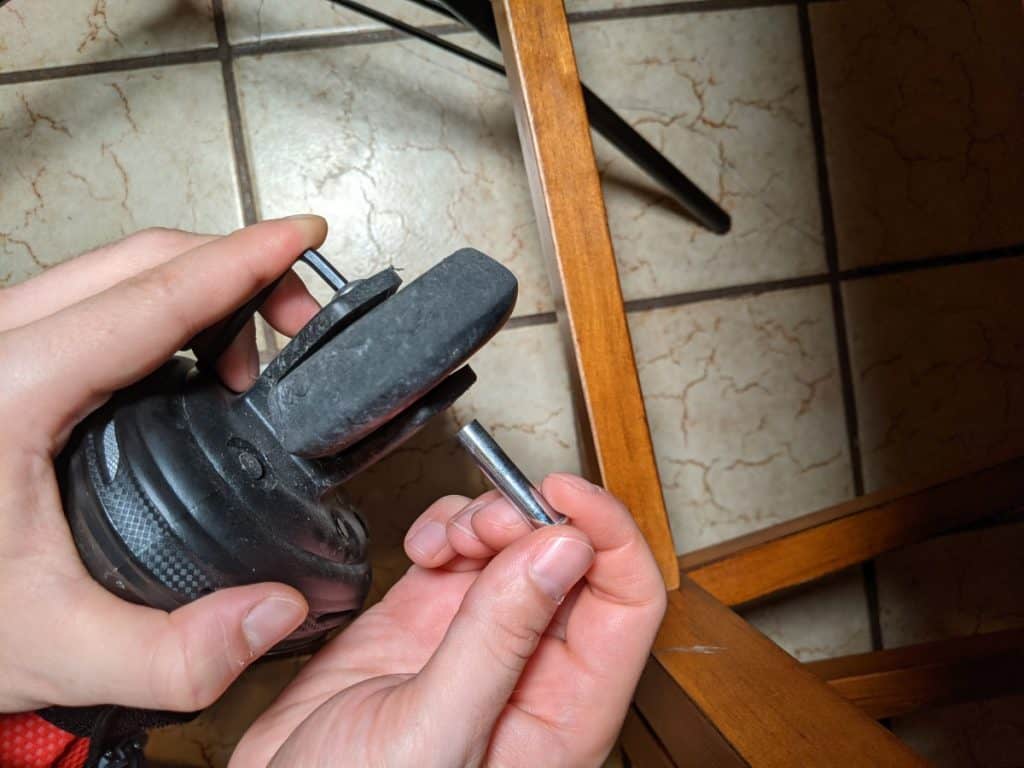
To remove the skate wheel, you have to put two Allen wrenches on both sides of the skate. You then hold one Allen wrench in place while you twist the other Allen wrench counter-clockwise to loosen the axle.
Keep twisting counterclockwise until the screw that goes into the sleeve of the axle comes out. You can use the hex keys to apply pressure to pull the sleeve out if necessary:
Once the axle is free, you can now remove the wheel.
Tip: Try and keep the sleeves on the same side that they came out from. On these skates, the sleeves came out on the inside of the skates
Replacing
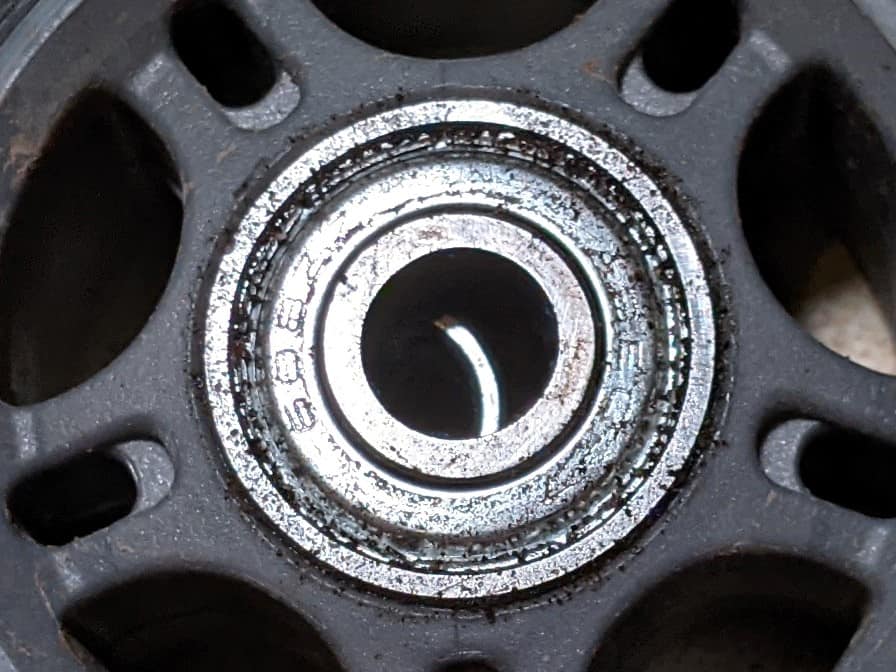
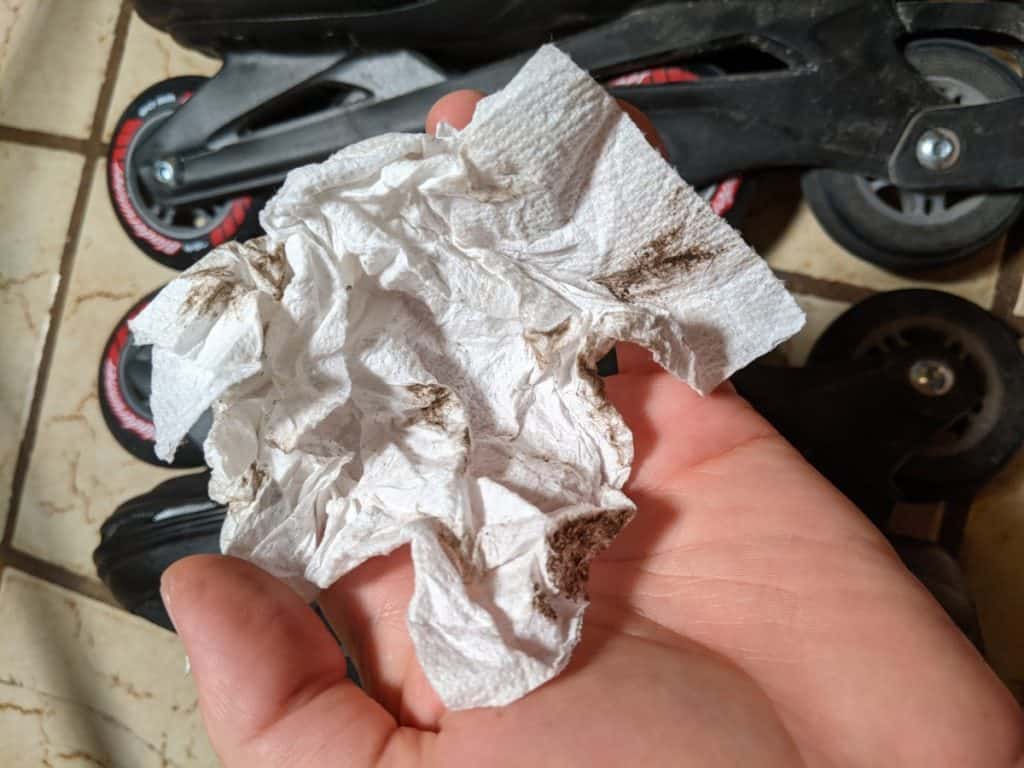
Before you replace the wheel, if you take a look at the bearing (the center part of the wheel), you’ll notice it’s probably filled with crud.
You can take this time to clean and lubricate your bearings, which involves several more steps. Click here to jump to the cleaning section to learn a little bit more as well as learn of some resources. You can at least wipe off the bearing if you don’t want to do a deep clean.
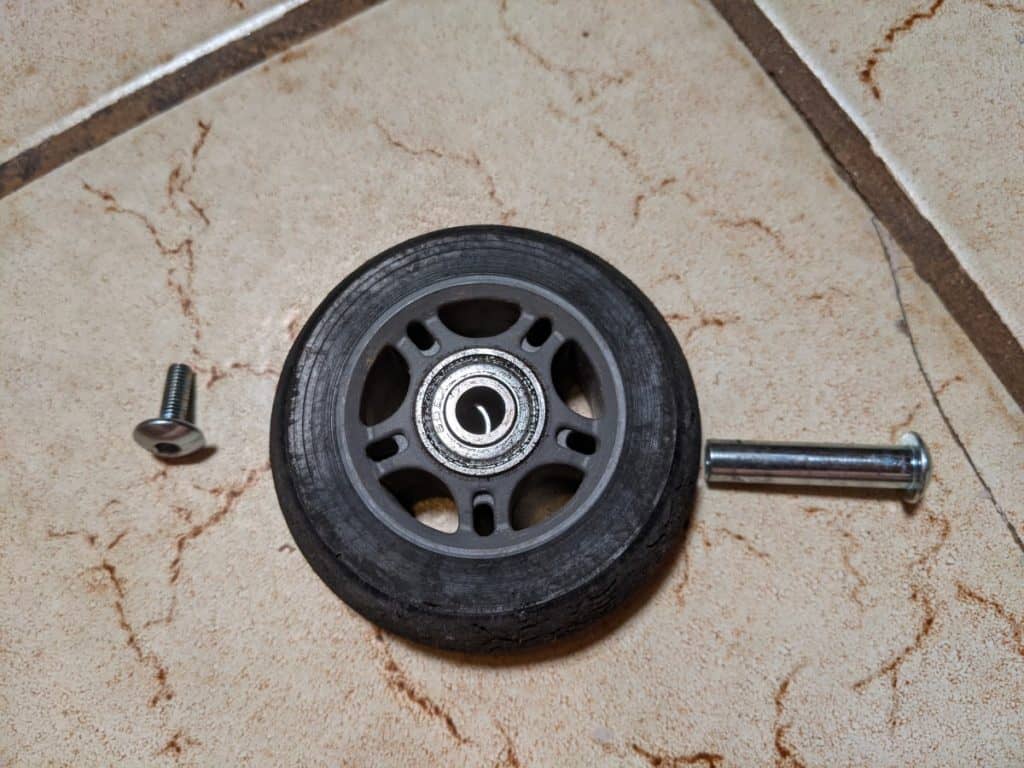
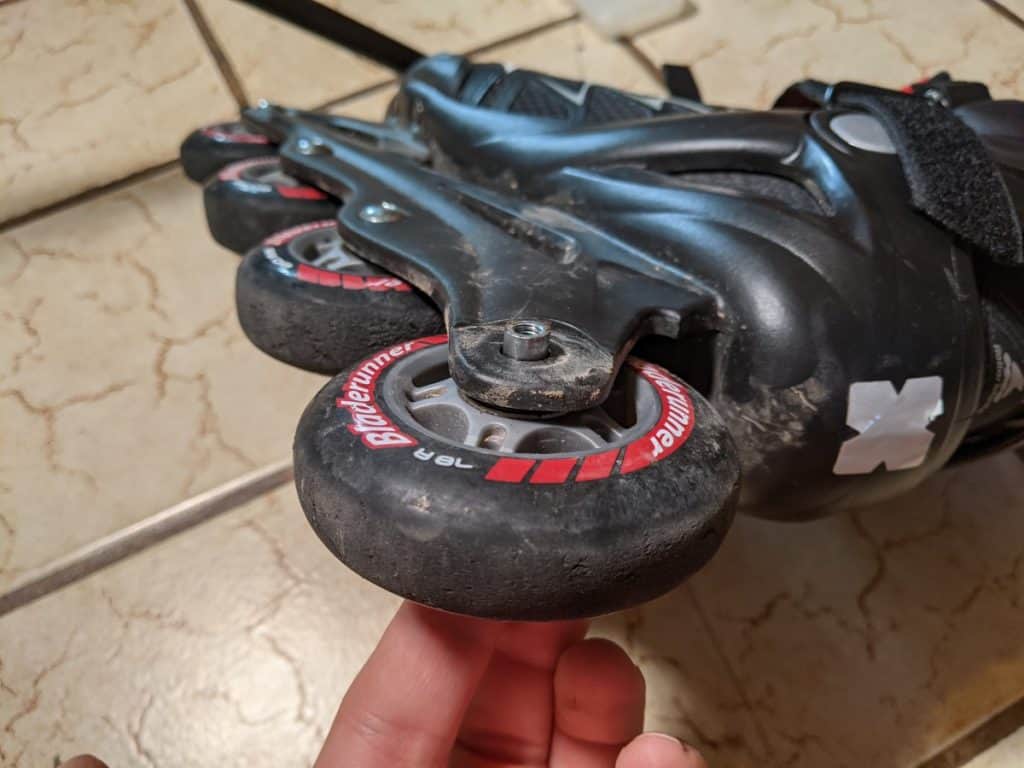
Once you’ve (optionally) cleaned your bearing, you are ready to reattach it. Before going on, I want you to take a closer look at the detached wheel:
Bearing Spacer
Skate wheels typically have two sets of bearings parallel to each other (SkateDeluxe has some excellent diagrams here).
Sometimes, the bearings have a spacer in between the two parallel bearing sets.
Why am I bringing this up?
When you’re reattaching your skate wheels, you may notice that your axle sleeve doesn’t go through the skate wheel anymore! This is because sometimes the spacer is loose between the two bearings (not an issue) and so the sleeve can’t pass through.
When putting the axle through the wheels, make sure the spacer is aligned in such a way that the axle can pass through it (just shake the wheel around until it’s aligned)
Reattaching wheel
Now that you know about the spacer, you can put the screw into the sleeve on both sides of the wheel and then screw them together with the same two Allen wrenches. Hold one Allen wrench while you twist the other clockwise until the axle is snug.
You shouldn’t use a ton of force on this. Just go until the wheels are secure and there’s no sideways movement in the axles.
Cleaning And Lubricating Your Bearings
While you’re rotating your wheels, you have the opportunity to clean your bearings.
There are multiple levels of cleanliness–you can go all the way and remove all the dirt and oil on the bearings, or you can just wipe down the outside of the bearings (not the actual metal balls) with a paper towel. I would at the very least do this because all that dirt can travel around and get into the bearings and slow you down.
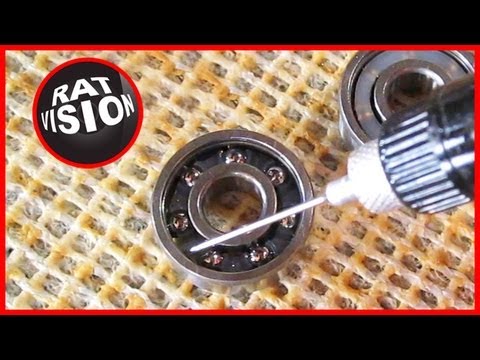
If you want to deep clean and lubricate your bearings, you can follow the instructions here if you want a detailed step by step process to do that:
If you want to focus on just rotating your wheels and don’t want to worry about cleaning the bearings just yet, that’s fine too.
You can also simply lubricate your bearings without cleaning them out. If you have skate oil, great, but sewing machine oil, or hair clipper oil, or any other lightweight oil that doesn’t have any cleaning agent will do fine.
How Do I Know If I Need To Rotate My Inline Skate Wheels?
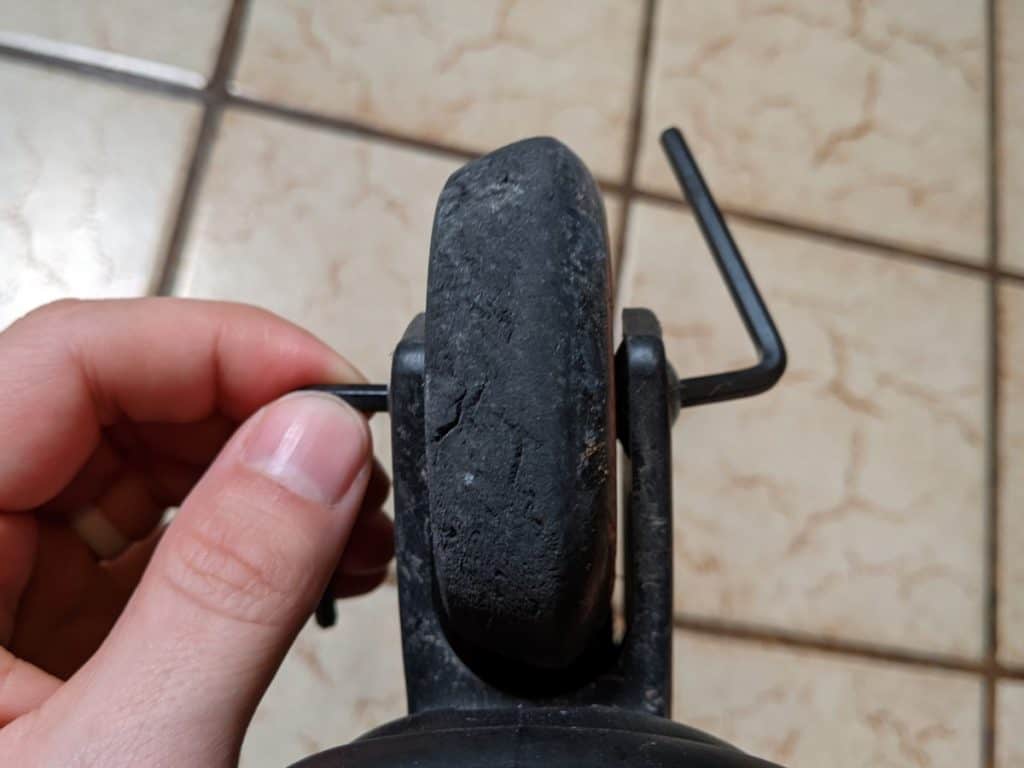
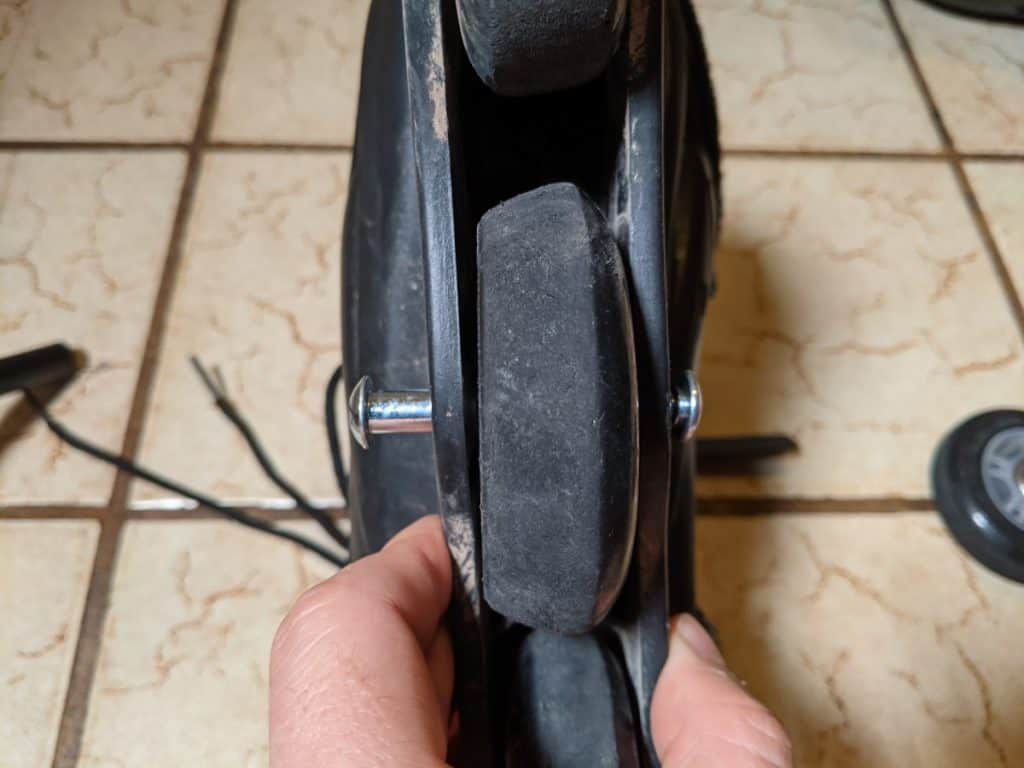
Short answer, when your wheels start to taper. Check out this picture:
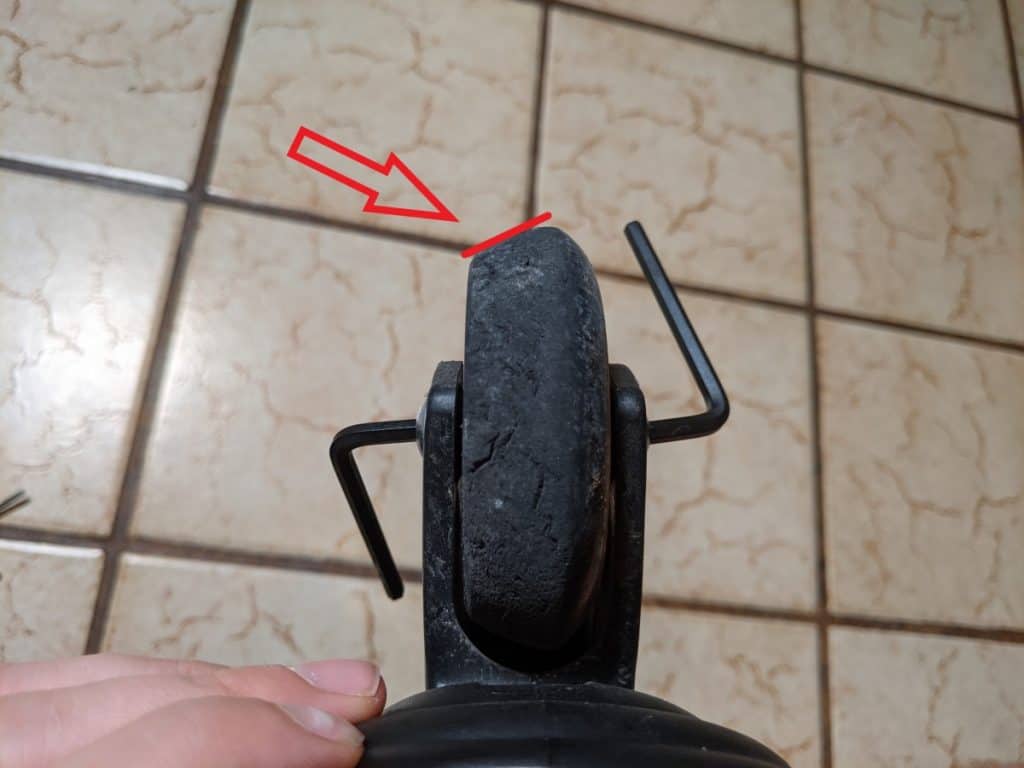
You can see from the picture that there is almost a flat line you can draw from one side of the wheel to the other. That’s a pretty strong taper and I should have rotated a bit sooner. However, it made a big difference in the feel of my skates and I was able to breathe new life into them.
If you want to see more details on when to rotate your skate wheels as well as why mine didn’t last very long and what to do to get your skate wheels last longer, make sure and check out my article, here that has more detail on that subject.