How To Tie The Alpine Butterfly Picture Instructions
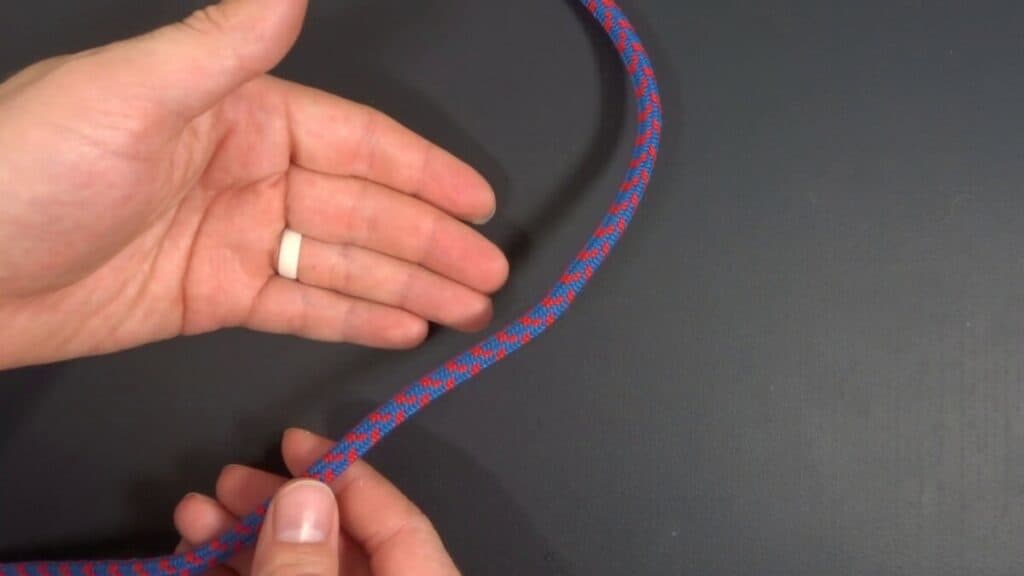
Step 1: Find a section in the middle of your rope where you want your alpine butterfly. You want to have plenty of room on both sides.

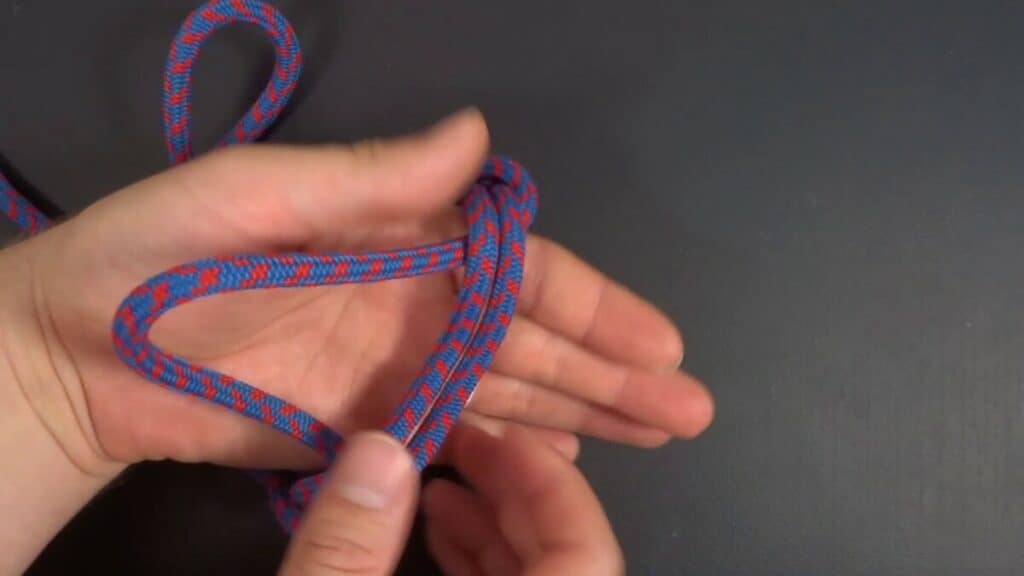
Step 2: Wrap the line (clockwise) twice around your left hand until you have 3 parallel lines in your hand.
I will call these, from left to right, Line 1, Line 2, and Line 3
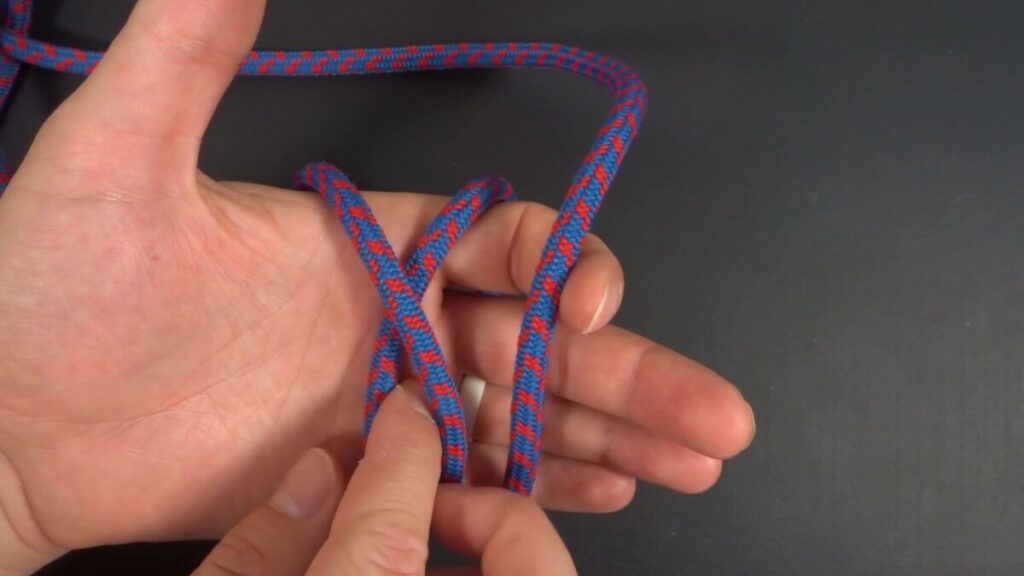
Step 3: Take the far left rope (Line 1) and bring it over the middle rope (line 2), forming an X
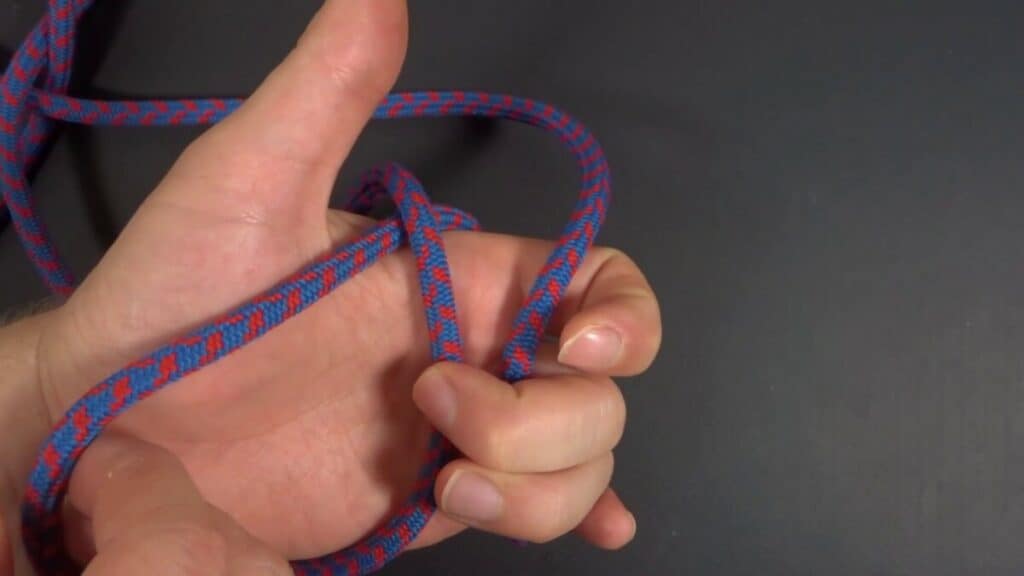
Step 4: Pull Line 2 to create slack–this will be your loop size so however big you want your loop that’s how much slack you should make
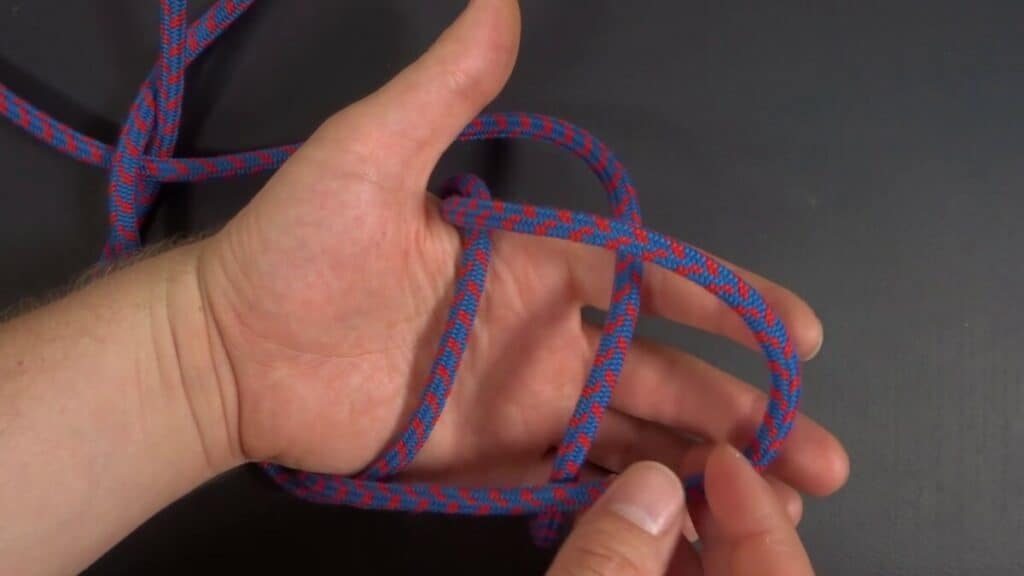
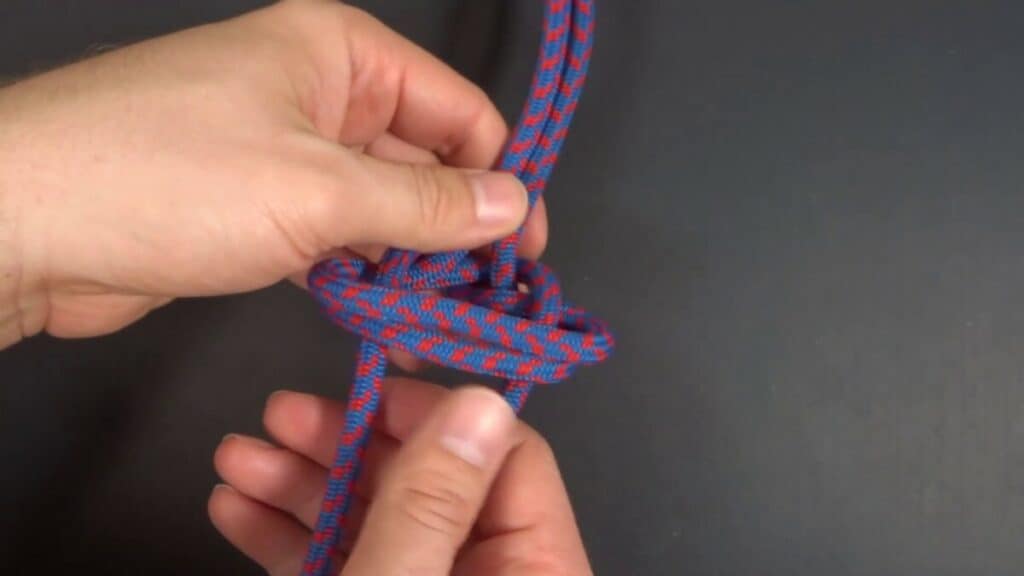
Step 5: Take Line 2 (the loop you made) and cross lines 1 and 3 all the way to the right.
Step 6: Tuck Line 2 back underneath lines 3 and 1 (in that order).
Step 7: While holding loosely onto Lines 1 and 3, pull Line 2 until the wraps of Lines 1 and 3 are just a couple inches
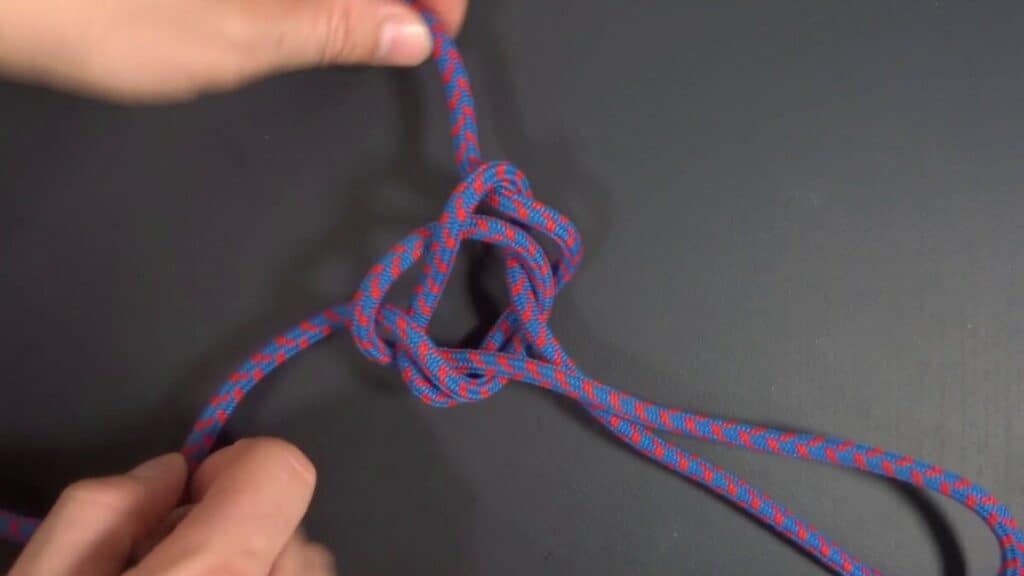
Step 8: Take the opposite working ends of the knot and pull them tight
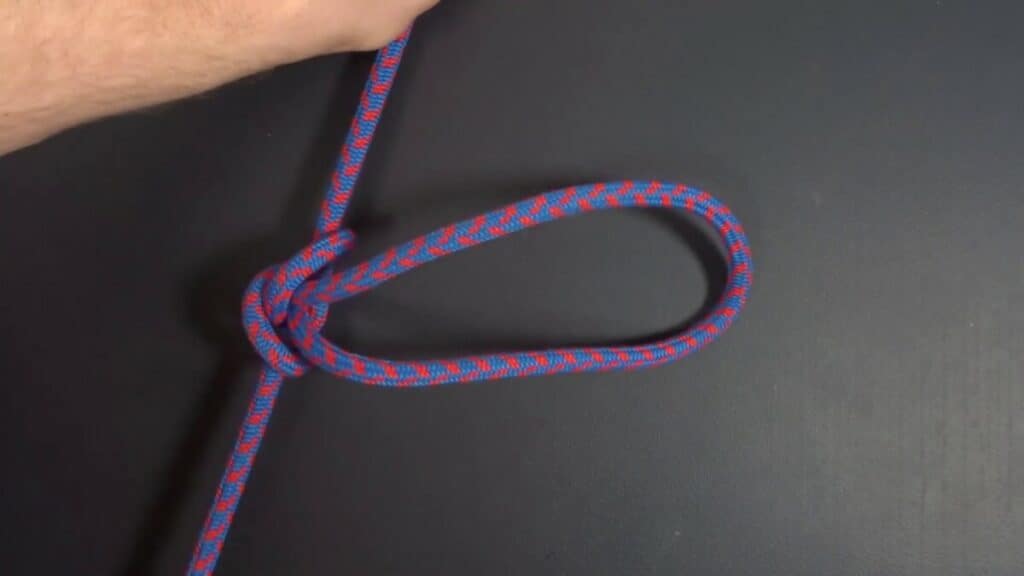
Step 9: Continue tightening until it collapses with one half hitch (glossary) on either side of the loop as you see here.