Buying hiking shoes is an ordeal. I talked to an REI shoes representative, recently, and they said that the number one reason people come back is because their shoes were too small. I decided to make this post to help you get the pair you want the first time.
Checklist and Getting Started
When you’re shopping for hiking shoes it’s easy to miss something until you’re climbing up a rocky hill in the wilderness with no shoe representatives in sight.
Here’s an easy checklist you can follow that can help you remember to perform the checks I’ll talk about in the rest of this post:
By the way, as an Amazon Associate, I earn when buying qualified products through links on my site.
| Shop For Hiking Shoes While Your Feet Are Bigger | |
| Bring Thick and Thin Socks | |
| Give An Inch, Take Out the Insert | |
| Lace Up Like An Ice Skate | |
| Stomp On the Ramp | |
| Check Ankle Rub | |
| Go On Tiptoes | |
| Be Ruthless About Toe Crowding | |
| Check For Top-Of-Foot Squeeze | |
| Try 3 Different Brands Or Styles |
Shop For Hiking Shoes While Your Feet Are Bigger
A well-observed phenomenon is that our feet changes size slightly throughout the day. If you’re in a career where you are on your feet all day, you’ll notice this is even more true–our feet swell as we use them throughout the day.
The absolute best time to buy hiking shoes is right after a hike. If you hike for 5 miles in the morning and then shop for shoes in the afternoon, you’ll know that your feet have gotten a chance to swell about as much as they will when you’re hiking in the wilderness.
Everyone’s feet are different and every one carries the blood in their feet a bit differently. If you’ve never noticed foot swelling throughout the day, it’s possible your feet don’t experience this as much as others do.
Bring Thin and Thick Socks
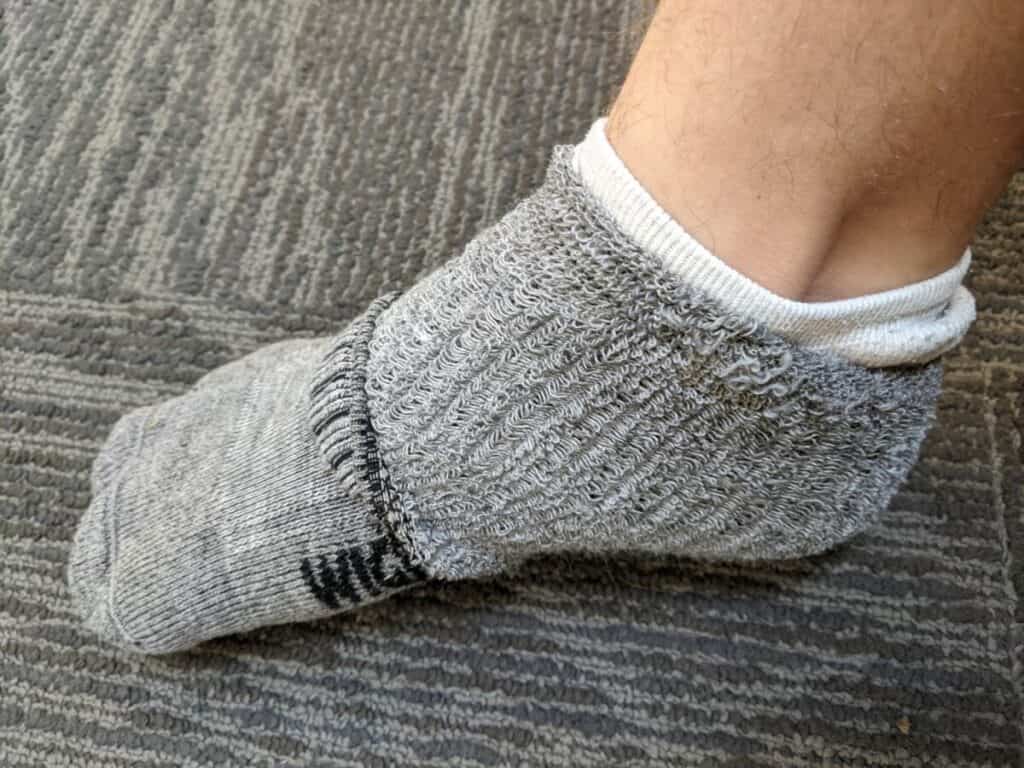
One crucial hack for making sure your hiking shoe buying goes really well is to wear the socks you’ll be wearing while hiking.
Even if it means losing style points while you’re wearing gym shorts with your hiking socks, it’s worth it so you can have a better idea of how your shoes will fit out in the wild.
Another important thing to remember is to bring another pair of thinner socks.
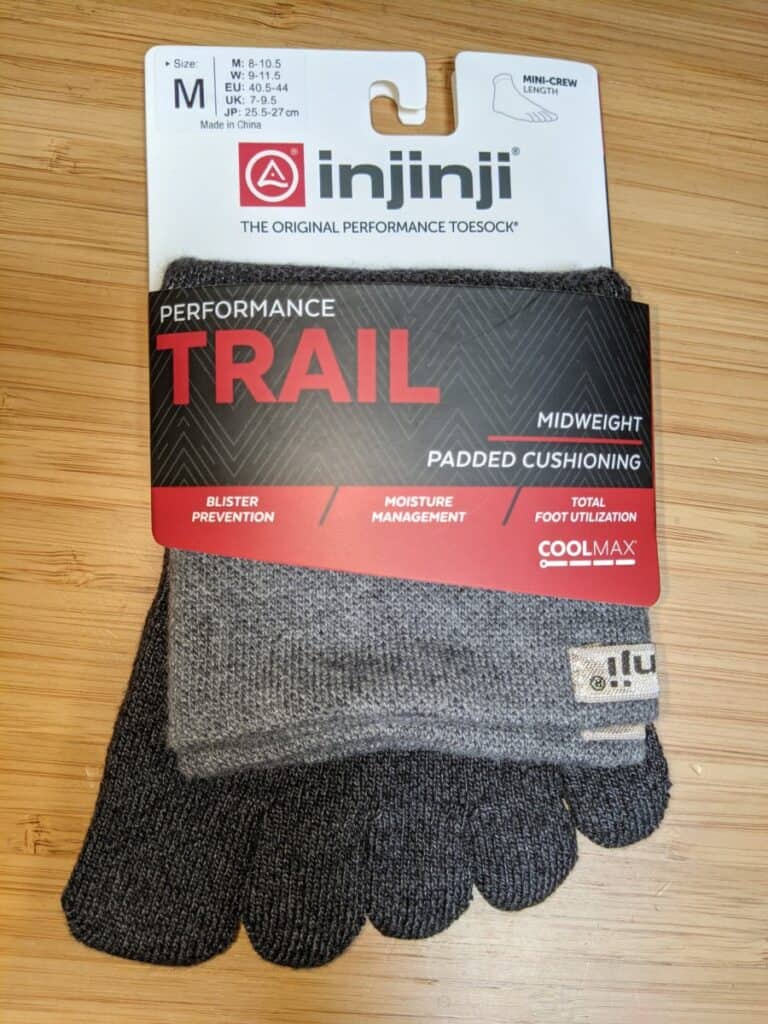
You may not know it, but it’s possible you could really benefit from wearing a sock liner.
A sock liner is essentially a thinner sock that you wear underneath your regular hiking socks. The purpose of the sock liner is to reduce friction. In fact, some people use toe socks. These will reduce the friction between your toes and will save your feet from blisters.
You might not even need to wear a sock liner until after mile 10 on your trip, though. It all depends on what conditions you’re hiking in as well as how far you’re hiking (and your hiking shoes).
So, if you want to get the best fit possible. Try wearing a thinner pair of socks underneath your hiking socks to make sure the hiking shoe still fits well. (Some people use Neoprene socks for this purpose. I talk more about using Neoprene socks for hiking, here)
So, even if you weren’t planning on using a sock liner, you might at some point, so it’s good to factor that into your hiking shoe size.
What are hiking socks? Are they worth the money? I talk more about this subject in my post here.
Give An Inch and Take Out the Insert
The rule of thumb that you generally hear while fitting hiking shoes and boots is . . . well . . . the rule of thumb.
The essential point of this rule is that your feet should have about a thumb’s width (1 inch or around 2-3 cm) buffer between your feet and the edge of the shoe.
This is tricky business. Just because you have an inch buffer doesn’t mean the shoe fits. Make sure to keep reading to learn more.
Your hiking shoe does NOT fit if you can feel the front of your toes touching the edge of the shoe. (the sides of the toes are a different story I’ll cover later on in this post)
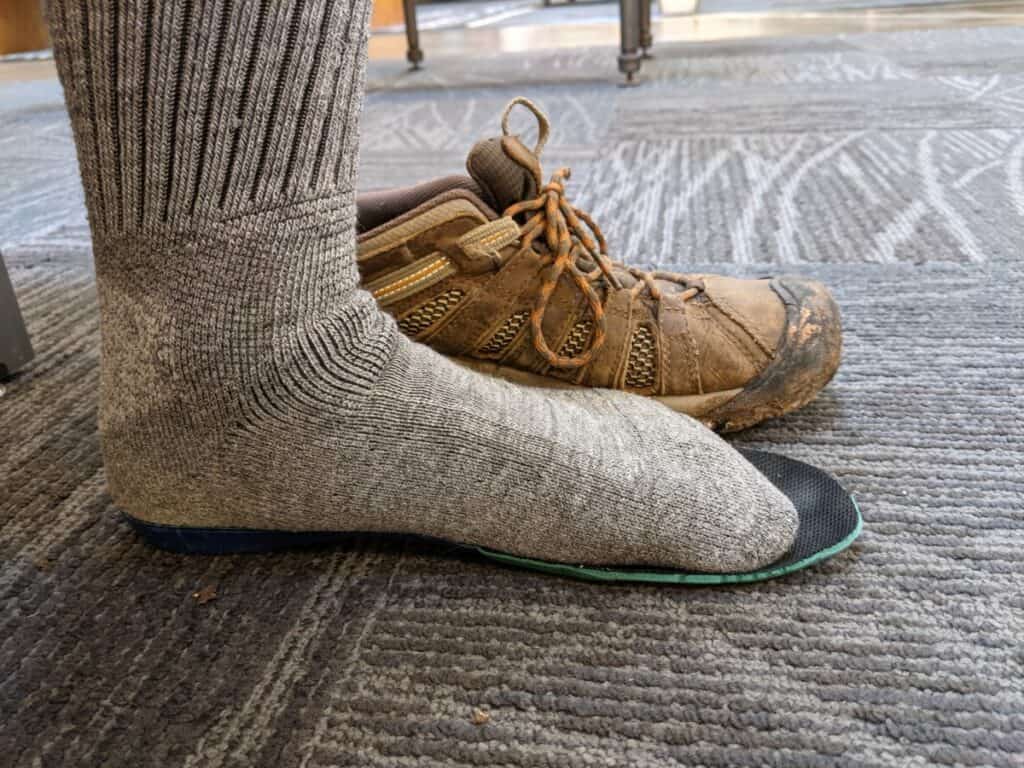
Now, if you are trying to fit waterproof, leather, or otherwise stiff shoes, then it might be difficult to know how much room your feet have.
One easy hack is to take out the original insert of the shoe and check your margins. The toe edge of the insert isn’t where your toe can actually be, but this gives you an easy way to get an idea of how much room your foot has from the edge of the shoe.
Lace-Up Like An Ice Skate
One very important thing to remember about buying hiking shoes or boots is that they are very different from casual shoes. As long as your street shoes are staying on your feet, generally, you’re fine.
However, hiking shoes are sports shoes. The sport is hiking, and your shoes need to stay with your feet and can’t be loose. Loose shoes means rubbing which often means blisters.
You need to tighten your laces on your hiking shoes firm enough to remove movement but not too firm as to cause discomfort.
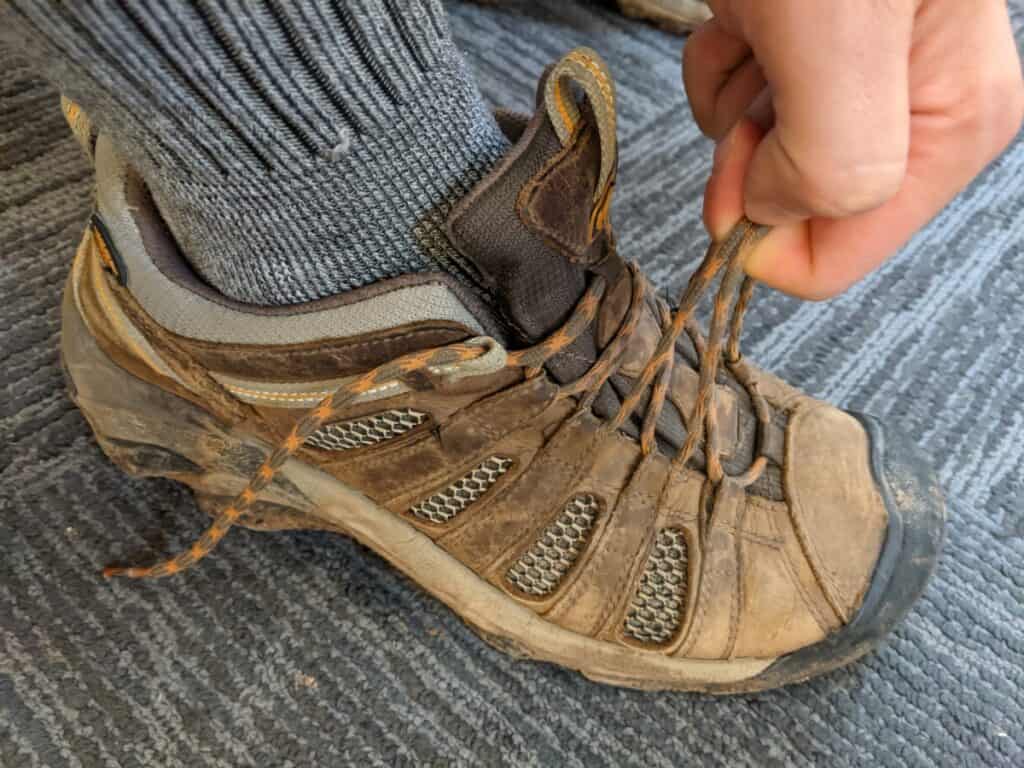
If you’ve ever gone ice skating before, you know that it’s essential to tie up the ice skate as tight as you can so your ankles don’t have a chance of bending. To tighten ice skates you start at the toe of the shoe and pull the laces tight along every set of loops. Here’s an exaggerated example of loose laces:
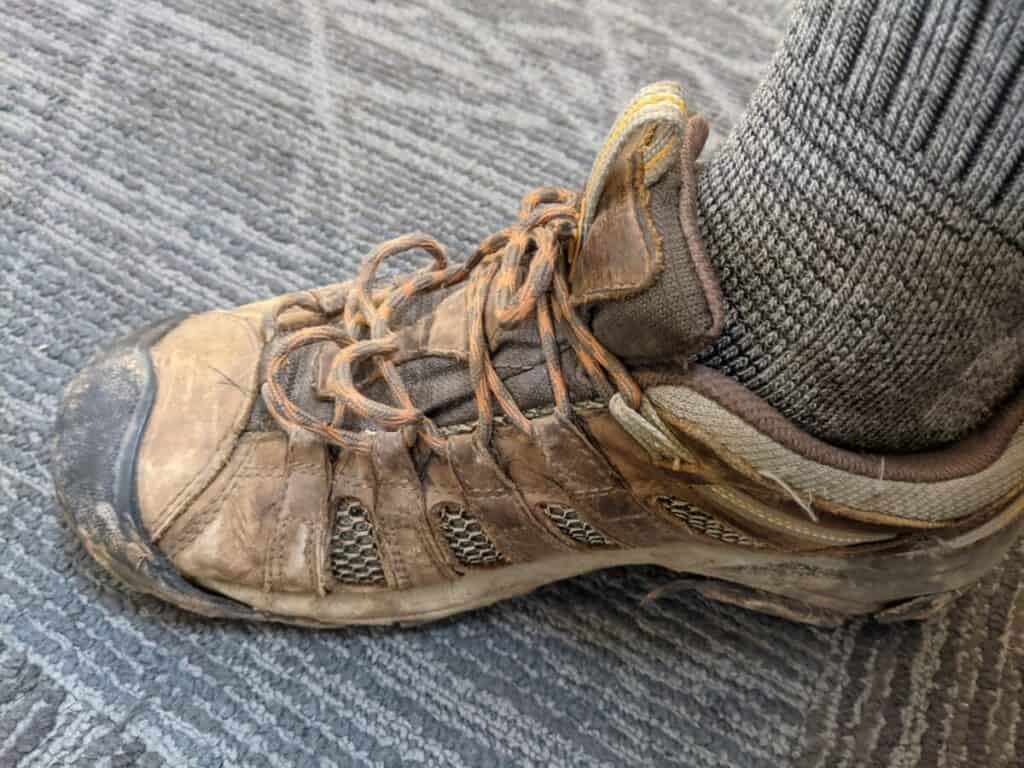
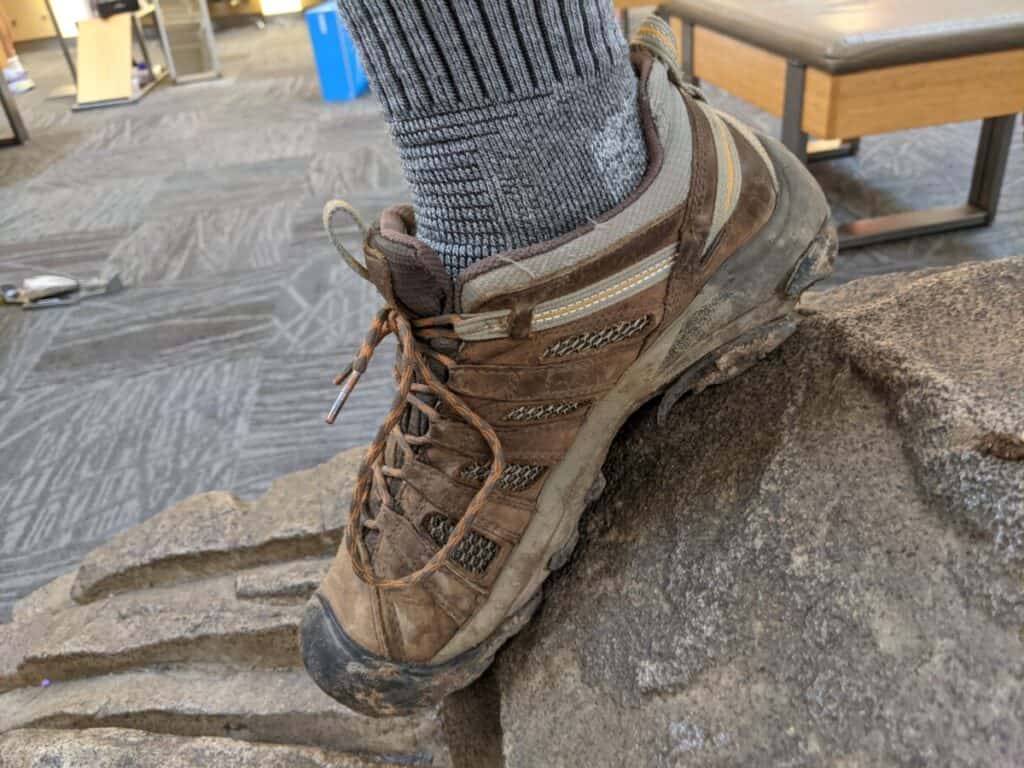
And here’s an example of pulling the laces along the tongue of the shoe.
It’s not a bad habit to kick the ground with your heel before and as you lace up the shoe to make sure you’re letting the laces do the tightening and not your foot position.
You know it’s too tight if you feel too much pressure on top of your foot. I cover this in more detail later.
Stomp On The Ramp
Often at shoe stores they provide a small ramp that allows you to get a feel for how your shoes will be when walking down an incline. REI in particular has a plastic rocky crag that you can step down on. The ramp is hugely important to getting a good fit for your hiking shoes.
It’s important to make sure you don’t skip the above steps. You shouldn’t try to stomp on the ramp if your laces aren’t tied tight enough, and if you don’t have your hiking socks on (at least).
Now, when I say stomp on the ramp, I don’t mean that in the colloquial sense. Literally, stomp on the ramp to try and mimic the experience of actually hiking down a steep hill. This particular hiking ramp has a handhold. In the wilderness you often don’t get handholds. Additionally, you are going to have momentum, which you won’t have on a small ramp inside a shoe store.
Your feet will be carrying all of the weight of your body (unless you have hiking poles… learn more about how hiking poles can save your knees, feet, and back here), so be a bit more aggressive on the ramp than seems socially acceptable.
Stomp on the ramp while your feet are going sharply downhill to ensure your toes are not hitting the front edge of the shoe.
If the shoes feel great and fit perfectly but fail the ramp test (your toes are jamming into the edge of the shoe), then you need to adjust the tightness or try another pair. It’s so tempting to just buy the first pair that feels good, but trust me, your toes make a huge impact on your hiking happiness so don’t skimp here.
Check For Ankle Rub
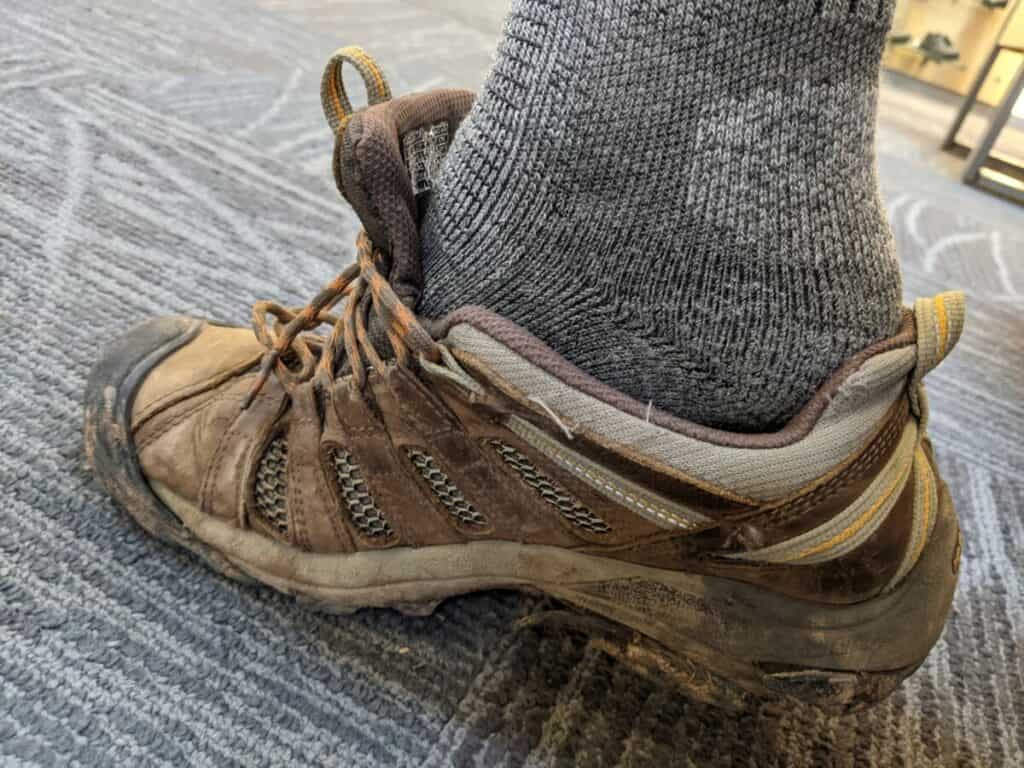
All shoes are different, all ankles are different, and all feet are different. One important thing to look out for is if your ankle is rubbing the inside of the shoe. You should feel something there (that in fact, you are wearing shoes), but you shouldn’t feel a lot of pressure on your ankle.
With your hiking shoe on, try pointing your toe, facing your foot to the left and right to flex your ankle in different directions. If it’s uncomfortable now, it’s going to be uncomfortable 10 miles into your hike and thereafter. Try loosening (or tightening) your laces to see if you can figure that out but don’t buy that pair of shoes if you feel anything weird here.
You may have an extremely well-fitting shoe, but if the cut of the shoe for some reason is rubbing against your ankle, that’s going to give you some sad times.
Go On Tiptoes
A lot of the tips so far have focused on if your shoes are too small. Here’s an extremely important to make sure your shoes aren’t too big.
Go on tiptoe.
If your heel starts to slip when you go on tiptoe at all, then the shoe either is not laced tight enough or the shoe is too big for you.
First try lacing up again making sure to pull tight along all the laces (the ice skate method I talk about above), and then try and go on tiptoe again. If your heel is slipping at all then the shoe is too big.
Be Ruthless About Toe Crowding (Shoe Width)
One HUGE thing that’s missing from a lot of tips and tricks about sizing your shoes correctly (especially for hiking) is shoe width.
In the US, shoe length ranges from 6 to 13+ for men and women. And the length varies depending on gender. A size 9 in men’s will be very different for women.
The other size that needs to have more attention is shoe width, which ranges from 4A (narrowest) to 4E (widest). You can see the full range of widths here if you want.
This gets into very fuzzy territory because it completely depends on the foot and the brand and even the model of the shoe. Some brands advertise a 4E wide, but the width will feel different from one model of shoe to another within the same brand of shoe.
How Wide Should Your Shoes Be?
Your shoes should be wide enough to avoid toe overcrowding.
What is toe overcrowding?
Toe overcrowding is when your toes are pushed up against each other and even beginning to overlap (over or under).
Toe overcrowding can be severe, or it can be minor such as I demonstrate in the next picture.
This is about to get realllll intimate here:
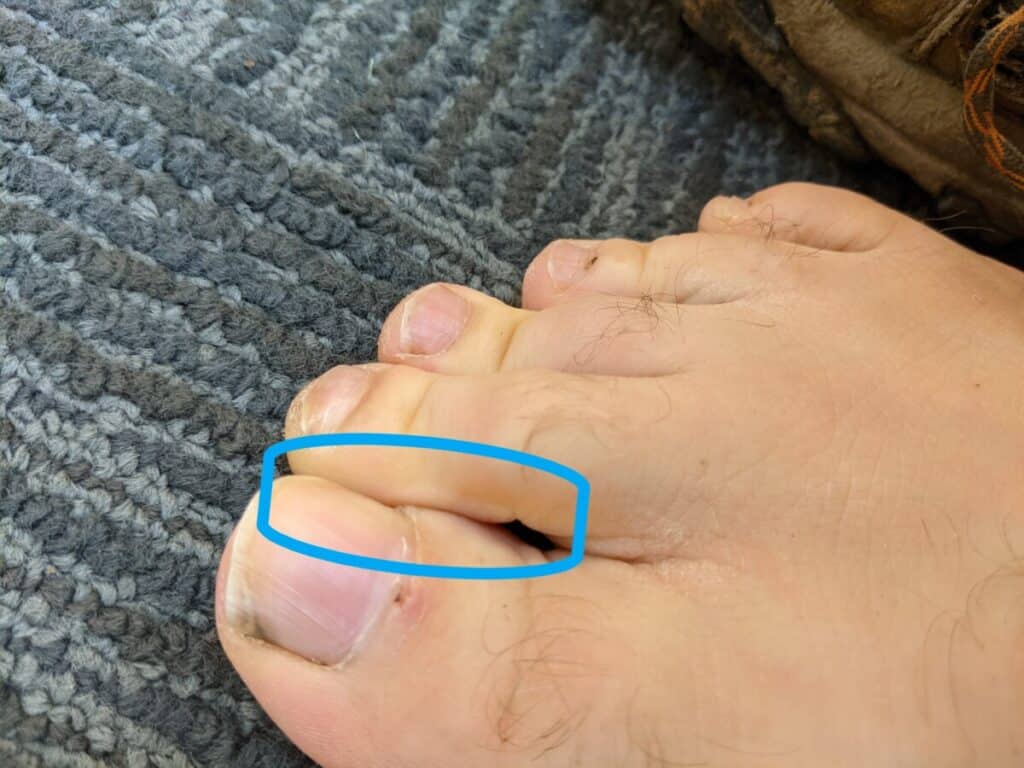
Your toes should not overlap. If they do, try a wider size.
This is where this gets difficult–often stores don’t carry wide sizes or wide enough sizes. If the hiking shoe fits in every other respect and passes every test but there is slight toe overcrowding, then shipping a wider size to your house might work out okay. Just be sure to find out if they have a warranty, and if they do, to make sure and test out your shoes on a short hike to make sure there is no toe overcrowding.
On a personal note . . . for some reason, I have really wide feet. It drives me nuts. I’ve dealt with toe overcrowding for years in all my previous hiking shoes–until I got my Keen Voyageurs (see men’s and women’s at Keen’s website, or at REI men’s).
Keen’s shoes all have a wide toebox. They were the only shoe that didn’t crowd my toes and they’ve kept my feet happy.
There is such a thing as being too wide, however. If the ball of your foot is sliding from one side of the shoe to the other then your shoes are too wide.
Watch Out For Top-Of-Foot Squeeze
One thing I’ve noticed is that sometimes after I’ve tightened my hiking shoes, I feel pressure on the top side of my foot.
This pressure is bad. It’s super uncomfortable and it only gets worse as time goes on.
When you’re shopping for hiking shoes, this is an important thing to look for. The easiest fix is to loosen up the laces above where the tightness is. You can try “window” lacing and make the laces go through the loops on either end of the shoe instead of making an X just in the region where you are feeling discomfort.
If window lacing doesn’t help, and the shoe is now too loose in some other way then it may be the shoe is cut in such a way as to not work for your feet. That’s why the next tip is super important:
Try At Least 3 Different Brands Or Styles
It’s kind of overwhelming to try and find hiking shoes these days. There are so many different styles to choose from, even amidst hiking shoes. For example:
- Zero-drop
- Hiking Boots
- Trail Runners
- Waterproof vs. Non-waterproof
- Hiking Sandals
To name a few.
If you’ve narrowed it down to a specific type of shoe, make sure and try several brands of the same shoe. There are going to be fit differences that you won’t be able to describe easily until you just try them on and compare.
Other Hiking Shoe Fit Questions
There are a couple of general fit questions that I thought I’d address, here:
Should I Go A Size Up Or Down For Hiking Shoes?
When buying hiking shoes you should at least go a half-size up from your normal shoe length. Shoe size varies from brand to brand so you have to experiment in person to verify this works for you.
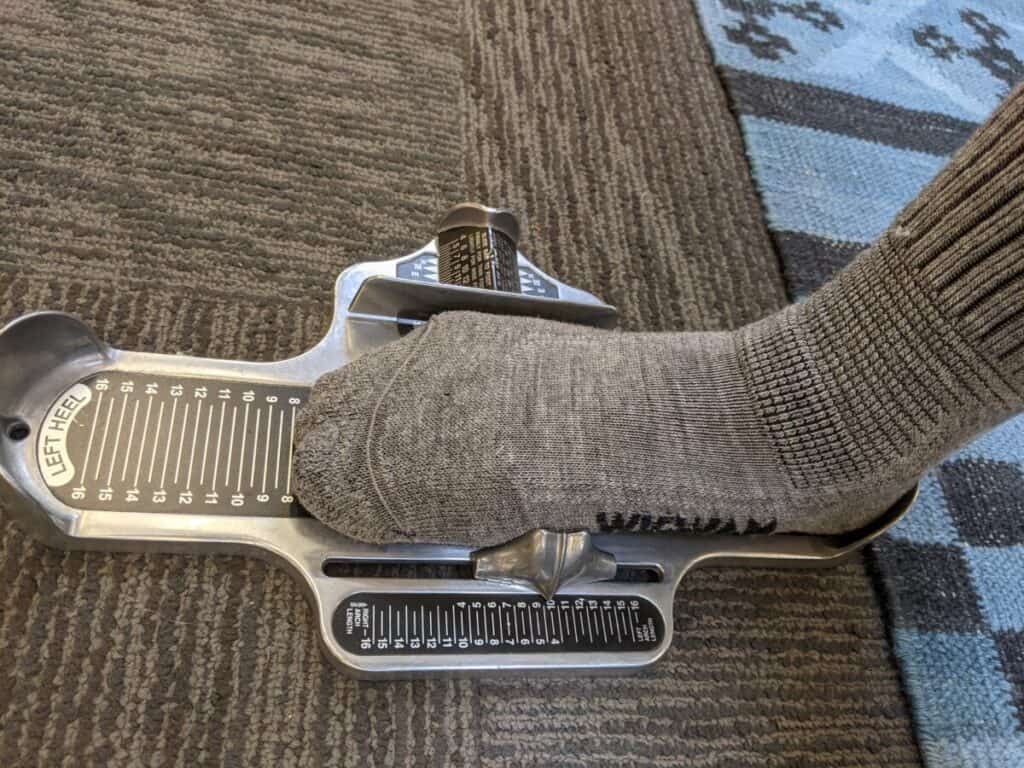
While I was at REI the other day, for fun I documented how long my feet were:
From my own personal experience, I have always worn shoes that were size 9, size 9.5 or size 10.
My hiking shoes are 9.5. Although size 9 will technically fit, my toes cram into the end of the shoe when I’m walking downhill. If you are deciding between two sizes, It’s better to go for the bigger shoe size as long as the shoe can stay securely attached to your feet and doesn’t rub when you’re walking.
Why Is It So Important To Get The Right Fit?
Blisters and Toenails.
If your hiking shoes are too small, repeated abrasion and concussion to your toes can result in bruised and even lost toenails.
If you haven’t lost a toenail before, it’s really horrible and painful and I don’t recommend it. Spend the time to get shoes that fit in any hiking circumstance and you’ll be so grateful.
Blisters don’t seem like a huge deal since they are such a normal thing to experience, and if you’re hiking 5-7 miles than it really is something you can just muscle through and be fine. 10-20+ mile hikes those little blisters can cause excruciating pain where the only solution is to keep walking so your brain gets tired of sending you pain signals and you become numb to it.
It’s worth it–avoid blisters, avoid bruising your toes/toenails, and get the right fitting shoe.
Should Hiking Shoes Be Tight Or Loose?
If you’ve gone through the checklist above, then your hiking shoes are as tight or as loose as they need to be.
If your hiking shoes are too tight, you may feel discomfort on the top of your foot and this can be adjusted by loosening the laces or by “window” lacing.
If your hiking shoes are too loose your heel may move around excessively, and when walking downhill your toes may mash into the front of the shoe. Finding a balance where the hiking shoe is secure but is also comfortable is the exact spot you want to be at.
Is There a Break-In Period For Hiking Shoes?
Non-leather hiking shoes don’t have a significant break-in period like hiking boots do. All shoes, including hiking shoes, have a break-in period where the padding of the shoe conforms to your foot, but since hiking shoes are often not made from leather the break-in period is faster.
More important than breaking in hiking shoes is giving your hiking shoes a 3-5 mile test drive (hike) where you make sure there are no fit issues. If your toes are rubbing against each other, your heel slipping, or your toes are hitting the edge of the shoe, then it’s worth taking your shoes back and trying something else, instead.